How to create an email signature
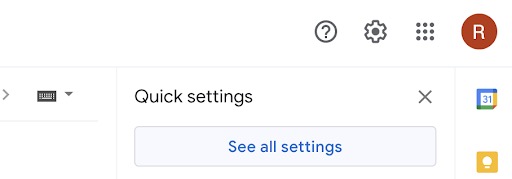
Adding a signature line to your email can be a quick way to provide the recipient with contact information. To create your signature, click the gear icon in the top right corner of your inbox, then choose “See all settings.”
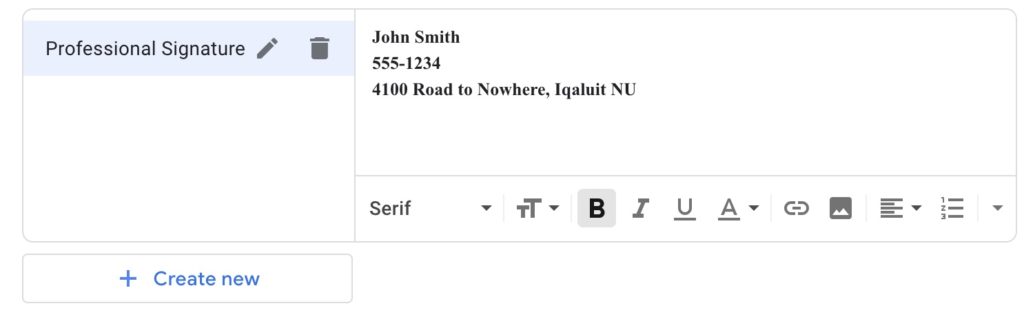
Scroll down the page until you see the Signature row. Then click the “+ Create new” button and give your new signature a name.

Once you give your signature a name, you can personalize your signature, complete with your contact information. You may choose to add your phone number, address and social media.
You can also determine when you wish to use your signature. As a general rule of thumb, signatures are added to new messages and omitted from replies. Now you can easily add your signature to emails so people will have your contact information.
Gmail is a great tool to connect with other people, but it may not be the best option for solving problems and getting quick responses. People who need to communicate in a more direct, face-to-face way should try Google’s video conferencing tools.